

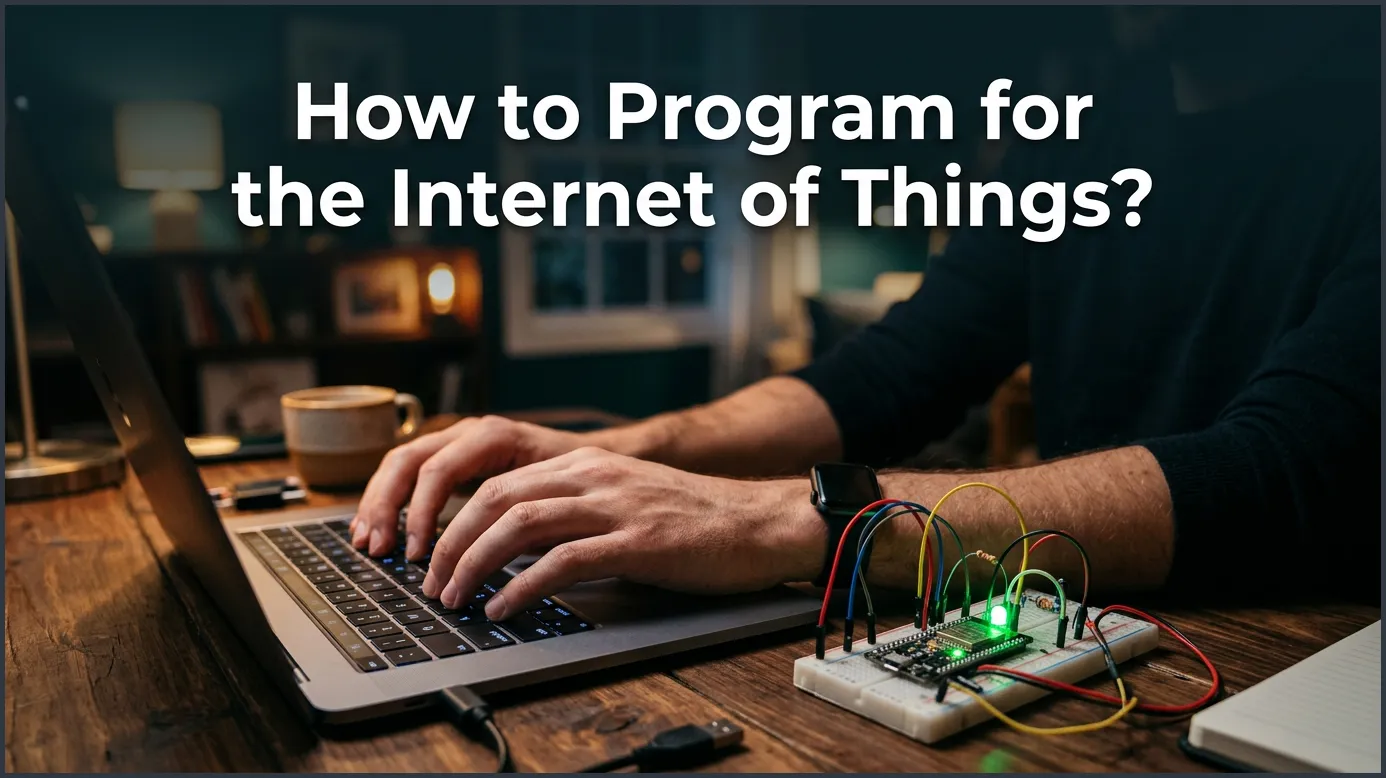
Programming for the Internet of Things (IoT) requires understanding the unique relationship between software and physical hardware. To start, you must choose the right programming language, set up a microchip or development board, and write code that connects your device to the cloud. By mastering these core skills, you can easily build smart, connected systems that automate the physical world.
Imagine walking into your home. The lights turn on, the thermostat adjusts to your favorite temperature, and your coffee maker starts brewing. This isn’t science fiction anymore. It is the power of the Internet of Things (IoT). Almost every physical object can now connect to the internet. But how do these gadgets actually know what to do? Someone has to write the instructions.
If you want to create your own smart devices, you are probably asking yourself: how do I begin? Learning How to Program for the Internet of Things? might seem like a huge mountain to climb. You have to think about microchips, wireless networks, sensors, and code all at the same time.
Do not worry. While it sounds complex, anyone can learn to program for these smart devices. In this guide, we will break down the process into simple, manageable steps. We will explore the best hardware to use, the easiest programming languages to learn, and how to write your very first lines of connected code.
Key Takeaways
- Choose the Right Language: C and C++ are great for low-level hardware control, while Python and JavaScript excel in rapid prototyping and cloud integration.
- Understand the Hardware: You need to get comfortable with development boards like Arduino, Raspberry Pi, and ESP32.
- Focus on Connectivity: IoT devices must communicate, requiring you to learn protocols like MQTT, HTTP, and CoAP.
- Prioritize Security Early: Protecting your data and device from the start is critical when coding for internet-connected hardware.
- Start with Small Projects: Building a simple LED blinker or temperature sensor is the best way to learn the basics.
📑 Table of Contents
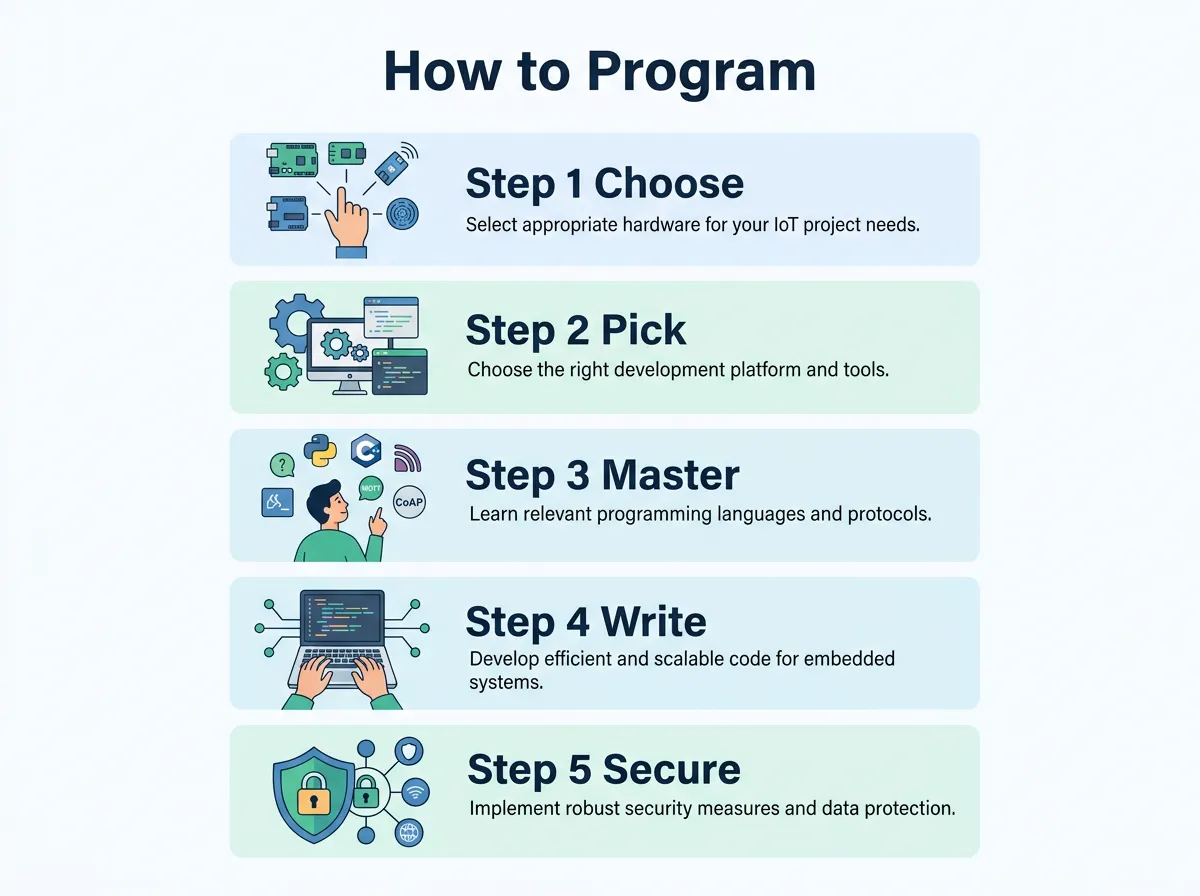
Step 1: Choose Your Hardware Wisely
To write software, you first need physical hardware. IoT programming is different from web development because your code directly interacts with physical objects. You will usually choose between two types of brains for your project.
Microcontrollers (MCUs)
Microcontrollers are small, low-cost computer chips designed to do one specific job. They do not run a full operating system. Instead, they boot up instantly and run your code in a continuous loop. Popular choices include the Arduino Uno and the ESP32. The ESP32 is a favorite because it has built-in Wi-Fi and Bluetooth. It is cheap and incredibly powerful for small projects.
Single-Board Computers (SBCs)
Single-board computers are full-fledged computers on a tiny circuit board. The Raspberry Pi is the most famous example. Unlike microcontrollers, these boards run an operating system like Linux. You can connect a monitor, keyboard, and mouse directly to them. Use a single-board computer if your project needs heavy processing, like face recognition or managing a database. If you are just starting, exploring a beginner guide to IoT can help you decide which hardware fits your goals.
Step 2: Pick the Best Programming Language
Once you have your hardware, you need a language to write your code. The best language depends on your project and your programming experience.
How to Program for the Internet of Things? — key points at a glance
C and C++
C and C++ are the kings of hardware programming. They are highly efficient and let you control memory directly. Because they are fast, they are perfect for microcontrollers with very limited memory. However, they can be difficult for beginners to learn because of their strict syntax.
Python and MicroPython
Python is famous for being easy to read and write. For IoT, developers often use MicroPython. This is a slimmed-down version of Python made specifically for microcontrollers. If you want to jump right in, checking out a guide to MicroPython on O’Reilly is an excellent way to learn how to write simple scripts that control physical chips.
JavaScript and Node.js
If you already build websites, you can use JavaScript. Node.js is great for managing many connections at once. It is widely used for smart home hubs and cloud-based IoT applications.
Step 3: Master the Essential Protocols
An IoT device is not very useful if it cannot talk to other devices. To connect your hardware to the web, you need to understand communication protocols. These are the rules that devices use to send and receive data.
HTTP
This is the same protocol used by your web browser. It is easy to use but can be heavy for small, battery-powered devices.
MQTT (Message Queuing Telemetry Transport)
MQTT is the standard protocol for IoT. It is lightweight, fast, and uses very little power. It works on a publisher and subscriber model. For example, a temperature sensor publishes a reading, and your phone app subscribes to receive that update. To dive deeper into these communication standards, you can read professional resources like the IEEE IoT guides to see how global experts build connected networks.
Step 4: Write Your First IoT Program
Now, let us look at how a simple program actually works. In traditional programming, your first code is usually a simple text output. In the hardware world, your first project is making a physical light blink.
Imagine writing these simple lines of code:
from machine import Pin
import time
led = Pin(2, Pin.OUT)
while True:
led.value(1)
time.sleep(1)
led.value(0)
time.sleep(1)
In this short script, you import the hardware controls. You tell the microchip that pin number 2 is connected to an LED light. Then, you start an infinite loop. The code turns the light on, waits one second, turns it off, waits another second, and repeats forever. Once you master this basic loop, you can replace the light with a motor, a screen, or a lock.
Step 5: Secure Your IoT Network
Security is the most ignored part of IoT development, which makes it incredibly dangerous. If a hacker gains access to your smart lock or home camera, it poses a major threat.
When learning How to Program for the Internet of Things?, you must make security a priority from day one. Never use default passwords in your code. Always encrypt the data sent between your device and the cloud. Additionally, make sure your devices can receive over-the-air firmware updates so you can patch security holes later. If you want to learn more about testing and securing connected systems, explore the Keysight IoT resource hub for professional testing insights.
Step 6: Test, Debug, and Scale Your Project
Writing software for computers is easy because you can see errors on your screen. Debugging physical devices is much trickier. Sometimes your code is perfect, but a wire is loose on your breadboard.
Start by building your circuit on a temporary breadboard before soldering anything permanently. Use serial monitors to print text messages from your device to your computer screen while it runs. This helps you track what the chip is thinking. Once your prototype works reliably on your desk, you can look into custom circuit boards to turn your project into a clean, finished product.
Conclusion
Learning How to Program for the Internet of Things? is an exciting journey. It bridges the gap between the virtual world of software and the physical world we live in. By choosing simple hardware like an ESP32, picking an easy language like Python, and focusing on basic communication protocols, you can build incredible projects. Do not get overwhelmed by the big picture. Start with a single blinking light, keep experimenting, and watch your physical code come to life!
Frequently Asked Questions
What is the best language to program IoT devices?
C and C++ are the best languages for low-level programming on microcontrollers due to their speed and efficiency. However, Python and MicroPython are much easier for beginners to learn and use for prototyping. JavaScript is also popular for cloud-based IoT applications.
Can I use Python for the Internet of Things?
Yes, you can use Python. A special version called MicroPython is designed specifically to run on tiny microcontrollers. It allows you to write simple Python code to control sensors, lights, and motors.
Do I need to know electrical engineering to program IoT?
You do not need a degree in electrical engineering to get started. Understanding basic concepts like voltage, ground, and resistance is enough for most beginner projects. As you build more, you will naturally learn how circuits work.
What is the difference between an Arduino and Raspberry Pi?
An Arduino is a microcontroller, which means it runs one simple program at a time without an operating system. A Raspberry Pi is a fully functional single-board computer that runs Linux. Arduino is better for simple sensor tasks, while Raspberry Pi is better for heavy computation.
How do IoT devices connect to the internet?
IoT devices connect to the internet using hardware chips that support Wi-Fi, Bluetooth, cellular data, or Ethernet. They use lightweight communication protocols like MQTT or HTTP to send data to cloud servers.
Is security important in IoT programming?
Security is critical because connected devices are common targets for hackers. You should always encrypt data, use secure passwords, and design your devices to receive regular software updates to fix potential vulnerabilities.
