

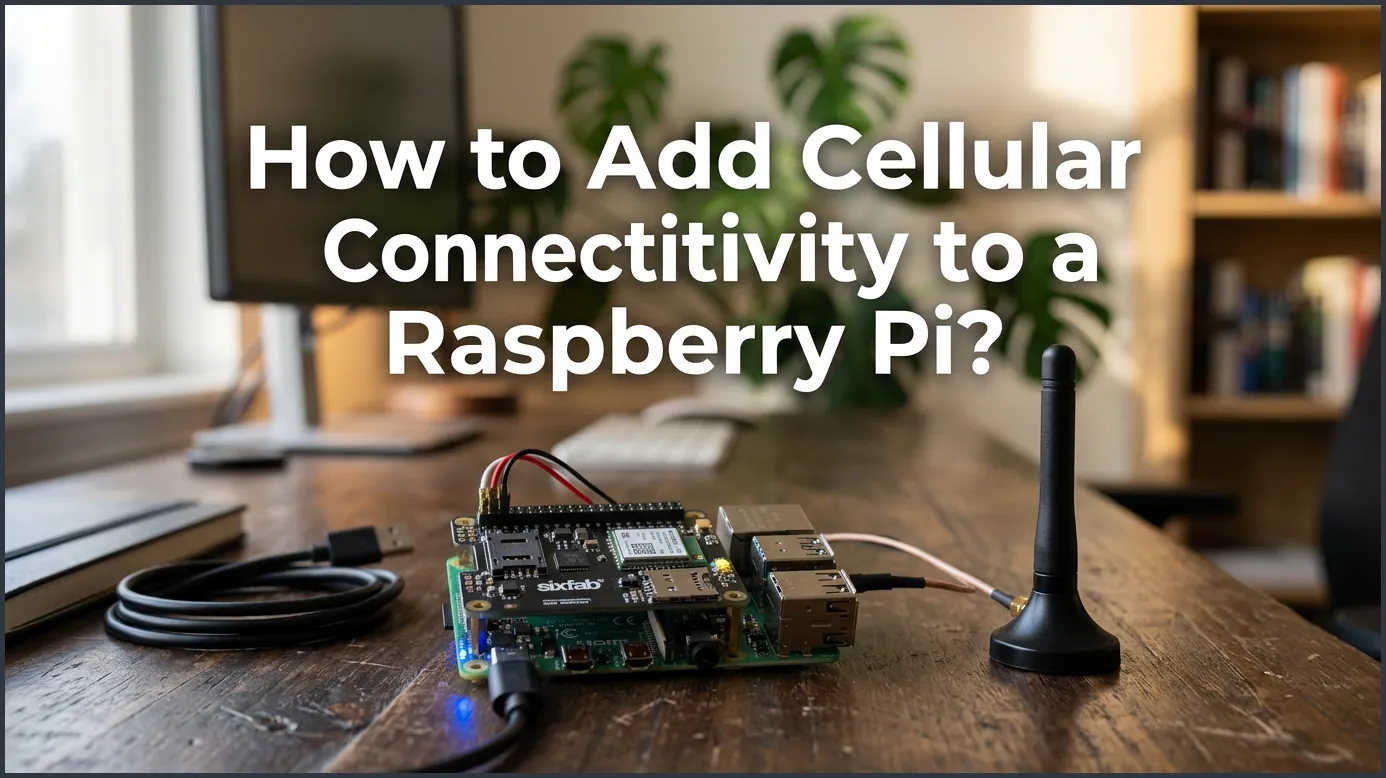
Adding cellular data to your Raspberry Pi is easy using a USB modem or a dedicated cellular HAT. This allows your project to send data from anywhere without relying on local Wi-Fi. By choosing the right hardware and configuring simple software, your Pi can access stable 4G or 5G internet on the go.
Have you ever wanted to put your Raspberry Pi in the woods? Maybe you want to track a wild animal. Or you want to build a weather station on a high hill. These places do not have Wi-Fi. You cannot run a long ethernet cable. So, what can you do? You need to take your internet with you. This is where mobile networks come in handy.
If you are asking yourself How to Add Cellular Connectivity to a Raspberry Pi?, you are in the right place. Connecting your Pi to a mobile network is easier than you think. It opens up a whole new world of fun projects. You can track cars, send alerts from remote spots, or build a backup home internet system. We will walk through the whole process together in this guide.
In this article, we will look at the hardware you need. We will talk about SIM cards and data plans. Then, we will configure the software step by step. Finally, we will share some smart tips to keep your Pi running smoothly. Let us get started!
Key Takeaways
- Choose your hardware wisely: You can use either a simple USB dongle or a more integrated cellular HAT depending on your project needs.
- Understand SIM requirements: You will need a compatible SIM card with an active IoT or mobile data plan.
- Configuration is simple: Setting up connection tools like NetworkManager makes the process smooth and quick.
- Power supply matters: Cellular modems can draw significant power, so always use a stable, high-quality power source for your Pi.
- Consider coverage and bands: Match your modem’s supported frequency bands with your local network provider.
- Great for remote projects: Cellular connectivity is perfect for wildlife cameras, weather stations, and mobile GPS trackers.
📑 Table of Contents
Why Connect Your Pi to a Cellular Network?
Most people use Wi-Fi or local cables for their Pi. But those options keep your Pi stuck in one room. Mobile networks give your Pi wings. You can put your board anywhere there is a cell tower. This means you can build real-world tools that work on the move.
Remote Monitoring
Imagine a small sensor in a farm field. It checks the soil water every hour. It cannot reach your home Wi-Fi. With a cellular link, the Pi sends this data to the cloud easily. You can view it from your phone while drinking coffee at home. It saves you from walking out to the field every day.
Mobile Projects
Are you building a dashcam for your car? Or maybe a tracker for your dog? These projects move around. Wi-Fi will drop as soon as you leave your driveway. Mobile data keeps your Pi online during the whole trip. It lets you stream video or upload GPS coordinates in real time.
Choosing Your Cellular Hardware
To start, you need the right gear. Your Pi does not have a built-in SIM slot. You must add extra hardware to connect to cell towers. There are two main ways to do this. You can use a USB dongle or a cellular HAT.
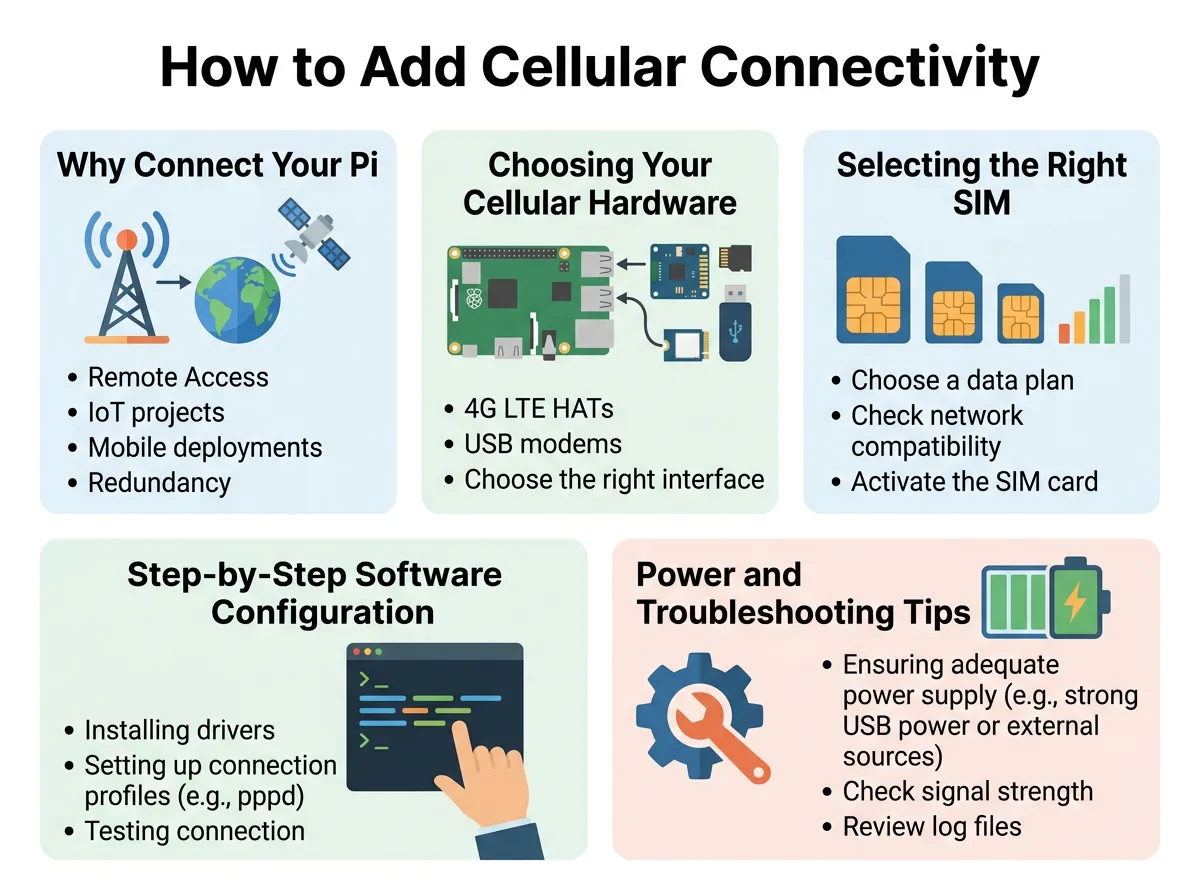
How to Add Cellular Connectivity to a Raspberry Pi? — key points at a glance
USB Dongles
A USB dongle is the easiest option. It looks like a thick flash drive. You just plug it into one of the USB ports on your Pi. Most of these dongles work like a mini router. They connect to the cell tower and share the internet with your Pi over a virtual link.
If you want to use a cheap USB dongle, you can learn about configuring a Raspberry Pi with a Huawei E303 modem as a quick starting point. It is a great way to test things out without spending too much money.
Cellular HATs
A HAT is a board that sits on top of your Pi. It connects to the 40-pin header. HATs are great because they do not stick out of the USB ports. They are safe and secure inside a case. Many HATs also include GPS. This is perfect if you want to track where your Pi is going.
For a deep dive into protocols, check out this guide on cellular connectivity with Raspberry Pi and 4G/5G protocols to see how they work. Understanding these protocols helps you choose between fast 5G HATs or cheap 4G options.
Selecting the Right SIM Card and Plan
Your hardware needs a voice to speak to the towers. That voice comes from a SIM card. You cannot just use any SIM card. You need to pick a plan that fits how your Pi will use data.
Standard SIMs vs. IoT SIMs
You can use a regular SIM card from your phone provider. This works fine for big projects that use lots of data. But if your Pi only sends small text updates, a standard plan is too costly. In that case, look for an IoT SIM. These are built for smart devices. They offer very cheap plans for small amounts of data.
Data Limits and Cost
Keep an eye on how much data your Pi uses. If you stream live video, you will need a lot of gigabytes. If you only send temperature data, you might only need a few megabytes per month. Choose a plan that matches your needs so you do not get a surprise bill.
Step-by-Step Software Configuration
Once you have your hardware and SIM card, it is time to set up the software. We will use the standard Raspberry Pi OS. Make sure your Pi is updated before you begin. You can do this by running a quick update command in your terminal.
Preparing the Raspberry Pi OS
First, plug in your USB modem or attach your HAT. Boot up your Pi. Open a terminal window. We need to make sure the Pi sees the new hardware. Type lsusb and press Enter. You should see your modem listed in the text that pops up. If you see it, your Pi knows the device is there.
Setting Up NetworkManager
Newer versions of Raspberry Pi OS use a tool called NetworkManager. This tool makes it very easy to manage your connections. You can set up your cellular link with just a few commands. You will need to know your network’s APN. The APN is a special name that tells your modem how to log into the network.
For a full walkthrough on the command line setup, look at this guide on how to connect your Raspberry Pi to a cellular network easily. It will guide you through typing the right commands to get your SIM talking to the local towers.
Testing the Connection
Once you run the setup, you should test the link. Unplug your ethernet cable and turn off your Wi-Fi. Open your web browser and try to load a webpage. You can also type ping google.com in the terminal. If you see replies, congrats! Your Pi is now surfing the web using cellular data.
Power and Troubleshooting Tips
Using cellular data can sometimes be tricky. Modems need more power than simple USB drives. Here are a few tips to keep you out of trouble.
Solving Power Issues
Cellular modems draw a lot of current when they search for a signal. If your Pi suddenly reboots, your power supply might be too weak. Always use the official Raspberry Pi power plug. If you are on the road, use a high-quality battery pack that can output at least 3 amps.
Signal and Antenna Tips
If your connection drops, check your antenna. Small stick-on antennas do not work well inside metal buildings. If you can, mount an external antenna near a window. This will give you a stronger, more stable link.
Conclusion
Learning How to Add Cellular Connectivity to a Raspberry Pi? is a game-changer. It frees your projects from the limits of home Wi-Fi. Whether you choose a simple USB dongle or a fast 4G HAT, the process is simple. With a cheap SIM card and a little setup, your Pi can go anywhere in the world. So grab a cellular modem, build something cool, and take your Pi on an adventure!
Frequently Asked Questions
Do I need a special SIM card for my Raspberry Pi?
No, you can use a normal phone SIM card for your Raspberry Pi. However, for small projects that do not use much data, a specialized IoT SIM card is often much cheaper.
Can I get 5G speed on my Raspberry Pi?
Yes, you can get 5G speeds if you use a compatible 5G cellular HAT or modem. Just keep in mind that 5G hardware is more expensive and uses more power than 4G gear.
Why does my Raspberry Pi restart when the cellular modem connects?
This is usually a power supply issue. Cellular modems require a lot of power when connecting to network towers, so make sure you are using a high-quality power source that supplies at least 3 amps.
Can I send SMS messages from my Raspberry Pi?
Yes, you can send and receive SMS messages using your cellular modem. You can use simple terminal tools like Gammu to automate text alerts from your Pi.
Does a cellular HAT block the other pins on my Raspberry Pi?
Most HATs will sit on top of the GPIO pins, but many of them feature pass-through headers. This allows you to still connect other sensors and devices to your Pi easily.
Can I use my Pi as a mobile Wi-Fi hotspot?
Yes, you can configure your Raspberry Pi to share its cellular internet connection. By turning on the Pi’s built-in Wi-Fi chip as an access point, other devices can connect to it for internet access.
