


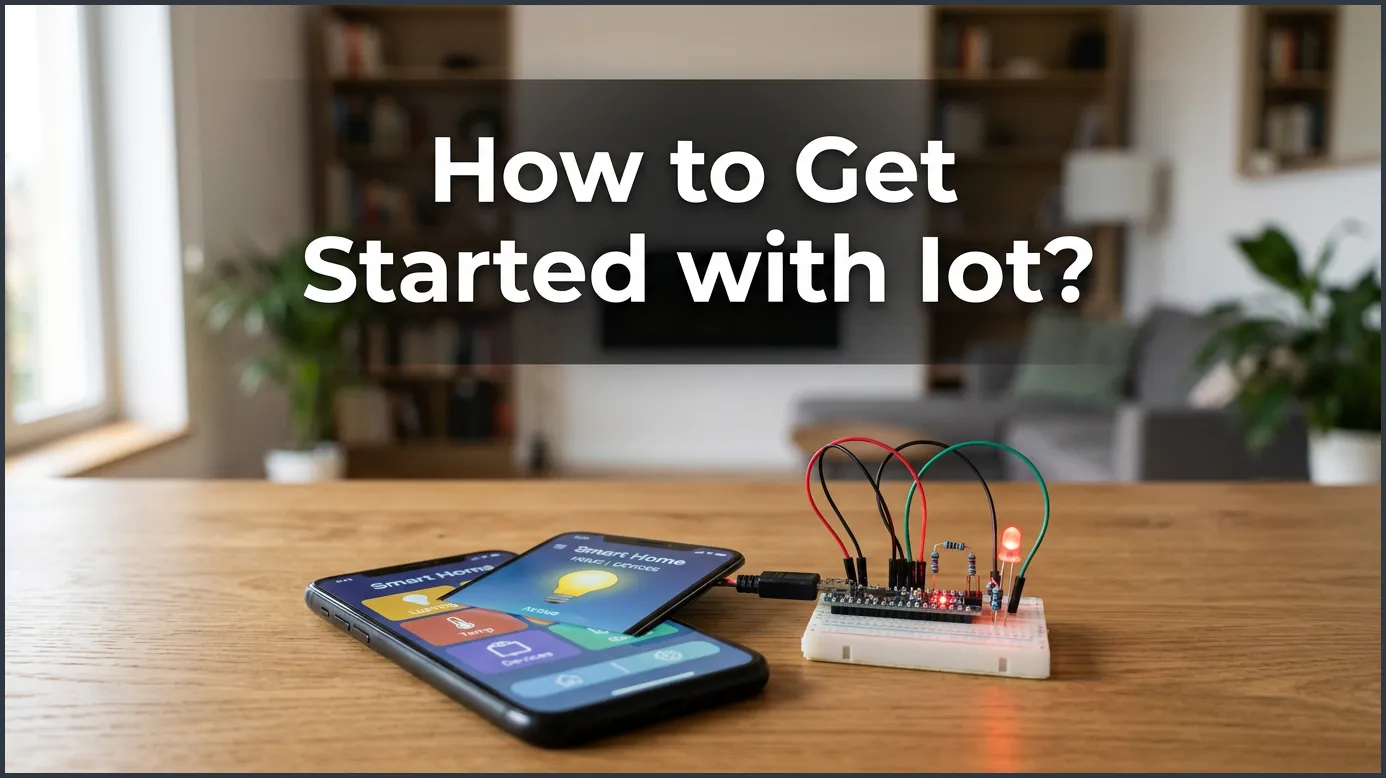
Getting started with the Internet of Things (IoT) is much easier than you think. By choosing a simple starter project, selecting beginner-friendly hardware like Arduino, and learning basic coding, you can connect physical devices to the digital world. This step-by-step guide walks you through everything you need to know to build your very first smart project today.
Key Takeaways
- Start Small: Choose a simple, clear project first to avoid feeling overwhelmed.
- Pick the Right Brains: Choose Arduino for simple electronics or Raspberry Pi for computer-based tasks.
- Learn Easy Languages: Focus on Python or basic C++ to write your code quickly.
- Connect to the Cloud: Use free platforms like Adafruit IO or Blynk to control your devices.
- Focus on Security: Change default passwords and keep your software updated from day one.
📑 Table of Contents
Introduction
Imagine waking up to the smell of fresh coffee. Your coffee pot knew exactly when you got out of bed. This is because your smart rug sent it a simple signal. Later, you get a quick text from your living room plant. It is thirsty and needs water. This is not a scene from a science fiction movie. This is the everyday magic of smart, connected devices. Connecting daily items to the web is changing how we live, work, and play.
It can feel like a huge step to build these systems yourself. You might look at all the boards, wires, and code and feel lost. Many beginners search online for How to Get Started With IoT? because they feel lost. If you are asking yourself this question, you are not alone. Many people want to learn this skill but do not know where to begin. Do not worry. Learning How to Get Started With IoT? does not have to be hard. It is much easier than it looks, and it is a lot of fun.
In this guide, we will break down the whole process into easy parts. We will cover the best hardware for beginners and the simple software you need. We will even walk you through a quick, fun project you can build today. If you have been wondering How to Get Started With IoT?, read on to begin your journey!
1. Understanding the Basics of IoT
What is the Internet of Things?
Before we build, we must know what we are making. The Internet of Things is a network of physical objects. These objects have sensors, software, and other tech inside them. They connect to the internet to share data with other systems. For a great look at how these parts fit together, read this definition of the Internet of Things to understand the basic terms. In simple terms, it lets everyday things “talk” to each other.
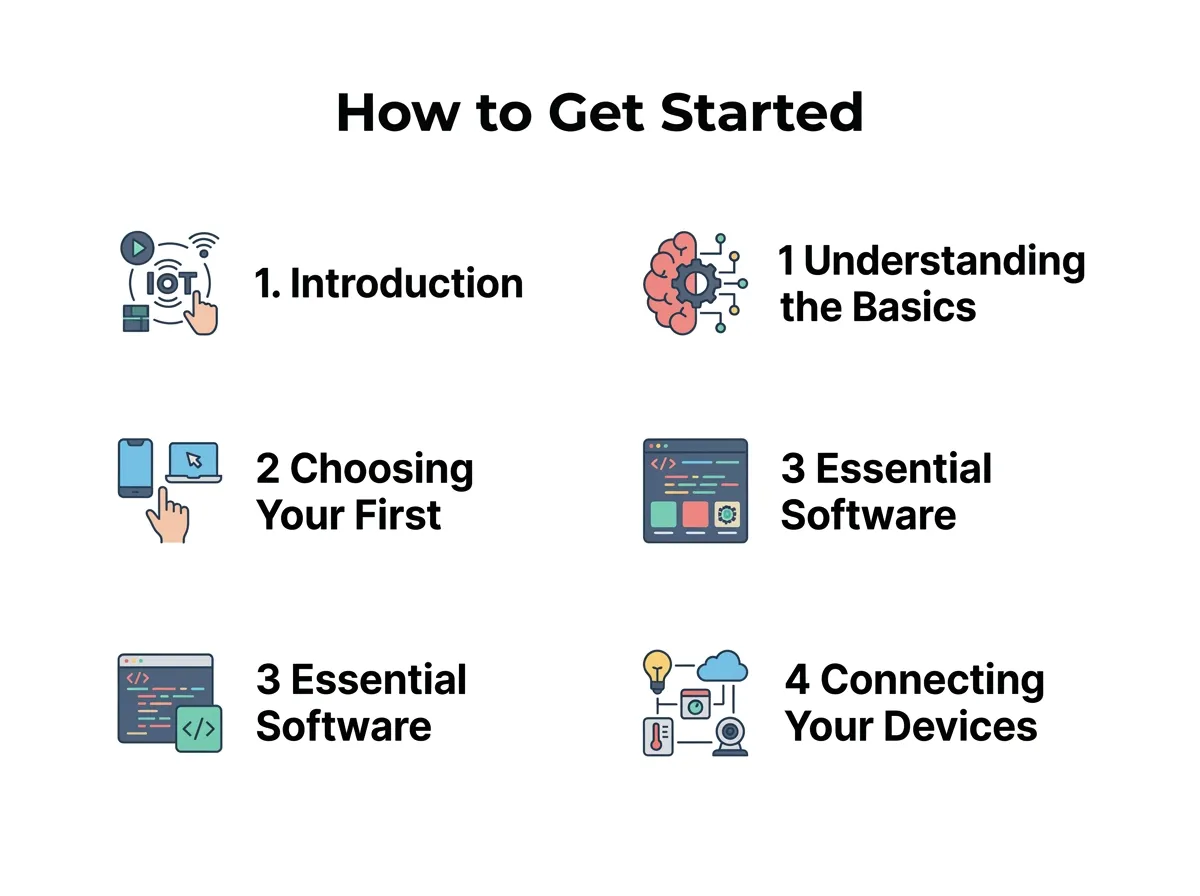
How to Get Started With IoT? — key points at a glance
Why Build Your Own IoT Projects?
Making your own smart devices is highly useful. First, you can automate boring daily tasks. For example, you can water your garden only when the soil is dry. Second, you can save money by building your own smart home gear. Third, it teaches you real-world tech skills that are in high demand today. If you want to know How to Get Started With IoT?, creating small personal projects is the best way to learn.
2. Choosing Your First IoT Hardware
Microcontrollers vs. Single-Board Computers
You need physical parts to start. When you research How to Get Started With IoT?, you will find two main types of brains for your projects. These are microcontrollers and single-board computers. Microcontrollers are small, cheap chips. They run one simple program at a time and use very little power. Single-board computers are tiny, fully working computers. They run operating systems and can handle complex tasks like video processing.
Popular Boards for Beginners
For microcontrollers, the Arduino Uno is a classic choice. It is cheap, sturdy, and has a huge community. Another great option is the ESP8266 or ESP32, which has built-in Wi-Fi. If you want a small computer, the Raspberry Pi is perfect. You can also explore specialized hardware. For a hands-on guide with versatile kits, check out Microsoft’s introduction to the Wio Terminal. This pocket-sized device is perfect for learning the basics without messy wiring.
If you want to learn How to Get Started With IoT? quickly, starter kits are your best friend. These kits come with a board, wires, lights, and sensors. They save you time and make sure you have all the parts you need right away.
3. Essential Software and Programming Languages
Writing Code for Your Devices
Do not let coding scare you. Most beginner projects use simple languages. C++ is used for Arduino boards. You only need to learn a few lines of code to get going. If you use a Raspberry Pi, Python is the best choice. Python reads like plain English and is very easy to learn. It is the perfect language if you want to know How to Get Started With IoT? without getting stuck on syntax.
Setting Up Your Development Environment
You need a tool to write your code. The Arduino IDE is a free software tool. You write code there and send it to your board with a USB cable. For Python, you can use simple editors like Thonny. These tools are free and work on Windows, Mac, and Linux. Getting comfortable with these simple coding tools is a key step in learning How to Get Started With IoT? today.
4. Connecting Your Devices to the Cloud
Understanding IoT Protocols
Devices need a way to talk to each other. They use protocols, which are like languages for machines. A big part of understanding How to Get Started With IoT? is learning how devices talk. The most common protocol is MQTT. It is very light and fast. It works well even with weak internet connections. Another common one is HTTP, which is what web browsers use. Both help your devices share data with the cloud.
Choosing a Cloud Platform
Once your device collects data, it needs a home. Cloud platforms store this data for you. They let you see your data on a beautiful online dashboard. As you plan How to Get Started With IoT?, pick a cloud service that matches your skill level. Popular platforms include Adafruit IO, Blynk, and AWS IoT. For beginners, Blynk is great because you can build mobile apps with a simple drag-and-drop tool.
If you want to dive deeper into how devices receive remote commands, you can read about sending commands from an IoT hub to a device. It will help you understand the full path of data from the web back to your hardware.
5. A Simple Step-by-Step Beginner Project
The Smart Weather Station
Let us look at a simple project you can build. We will make a smart weather station. This project will read the temperature and post it online. It is the perfect way to practice How to Get Started With IoT? in real life.
- Step 1: Buy an ESP8266 board and a DHT11 temperature sensor.
- Step 2: Connect the sensor to the board using three simple wires. One wire goes to power, one to ground, and one to the data pin.
- Step 3: Open your coding tool. Write a short script to read the sensor. You can easily find free template scripts online.
- Step 4: Set up a free account on Adafruit IO. Connect your board to your home Wi-Fi in the code. Tell the board to send the temperature to Adafruit IO every five minutes.
Now, you can see your home temperature from anywhere in the world! You have just built your very first smart device.
Testing and Troubleshooting
If it does not work at first, do not worry. Check your wires. A loose wire is the most common mistake. Make sure your Wi-Fi name and password are typed correctly in the code. Troubleshooting is a natural part of figuring out How to Get Started With IoT? on your own. Small mistakes are part of the learning journey and teach you how things work.
6. Best Practices for IoT Beginners
Prioritizing IoT Security
Security is very important. Every device on the web can be a target. When you look into How to Get Started With IoT?, security must be a priority from day one. Never use default passwords on your gear. Keep your software updated. If you are building tools for a company, read this practical guide for taking your first steps safely in a professional setting. Good security habits protect your data and your home.
Joining the Maker Community
You do not have to learn alone. The maker community is very friendly. If you want to know How to Get Started With IoT? with support, local maker groups are amazing. Join forums like Reddit’s IoT group or the Arduino community. People love to help beginners solve issues and share their cool ideas. Learning with others makes the journey much faster and more fun.
Conclusion
Now you know How to Get Started With IoT? and take your first steps. It is a fun journey that combines physical build tasks with digital code. Start small, stay curious, and keep experimenting. Your first smart project is just a few steps away!
Frequently Asked Questions
What is the cheapest way to start with IoT?
The cheapest way is to buy an ESP8266 or ESP32 microcontroller board. These boards cost less than ten dollars and have built-in Wi-Fi. You can pair them with cheap sensors and use free cloud platforms to build projects on a tiny budget.
Do I need to know how to code to start with IoT?
You do not need to be a coding expert to start. Many beginner platforms, like Blynk, let you control devices using visual drag-and-drop tools. When you do need to write code, you can find thousands of free templates online to copy and use.
What is the difference between Arduino and Raspberry Pi?
Arduino is a microcontroller designed to run a single, simple program directly on the hardware with low power. Raspberry Pi is a fully working computer with an operating system that can handle complex software, files, and screens. Arduino is better for simple sensor projects, while Raspberry Pi is better for heavy computing tasks.
Can I build IoT projects without Wi-Fi?
Yes, you can build projects using other wireless technologies. Some devices use Bluetooth for short distances, while others use LoRaWAN or cellular networks for long-range connection. However, Wi-Fi is still the easiest and most common option for home projects.
Are DIY IoT projects secure?
They can be secure if you follow basic safety steps. Always change default passwords, use encrypted connections, and avoid exposing your device directly to the public internet without a firewall. Keeping your software libraries updated also helps patch security holes.
What is the easiest IoT project for a beginner?
The easiest project is controlling an LED light through a web page. This project helps you learn how to connect a board to Wi-Fi and send a simple command from the internet. Once you can control a light, you can apply the same logic to motors, locks, and appliances.
